
why make this recipe
Reese’s Pieces Cheesecake Cones are a fun and tasty treat that combines the creamy goodness of cheesecake with the crunchy delight of chocolate cones. This dessert is perfect for parties, family gatherings, or simply as a sweet reward after a long day. The blend of creamy cheesecake and the iconic peanut butter flavor of Reese’s Pieces makes these cones a hit with both kids and adults.
how to make Reese’s Pieces Cheesecake Cones
Ingredients :
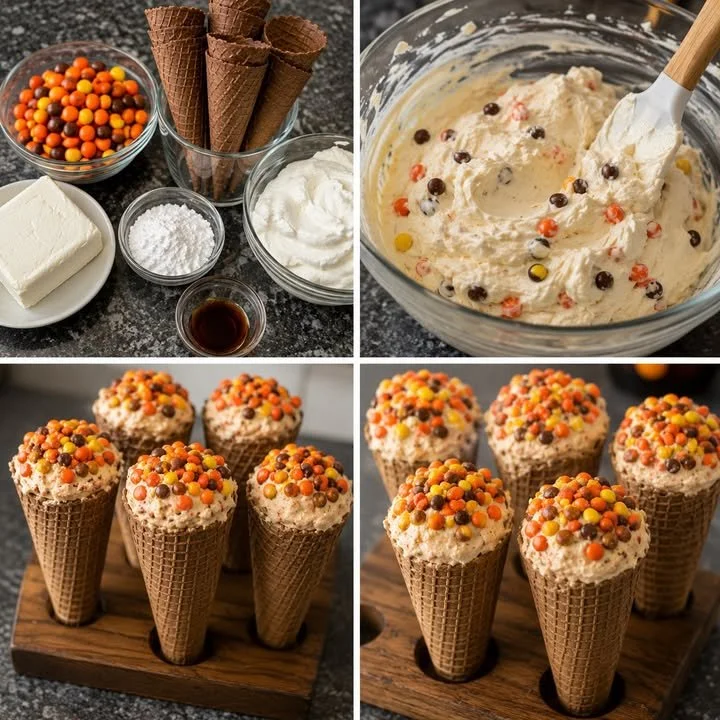
- 1 package chocolate cones
- 8 ounces cream cheese, softened
- 1 cup powdered sugar
- 1 cup whipped cream
- 1/2 cup Reese’s Pieces, chopped
Directions :
- In a mixing bowl, beat the softened cream cheese until smooth.
- Gradually add powdered sugar and mix until well combined.
- Gently fold in the whipped cream.
- Stir in the chopped Reese’s Pieces.
- Spoon the cheesecake mixture into the chocolate cones.
- Top with additional Reese’s Pieces if desired.
- Chill in the refrigerator for at least 30 minutes before serving.
how to serve Reese’s Pieces Cheesecake Cones
Serve these tasty cheesecake cones straight from the fridge for the best flavor and texture. You can arrange them on a platter for a beautiful presentation. For extra fun, let guests add their own toppings like extra Reese’s Pieces or chocolate syrup right before enjoying.
how to store Reese’s Pieces Cheesecake Cones
Store any leftover cheesecake cones in an airtight container in the refrigerator. They will stay fresh for up to three days. If you have extra cheesecake mixture, you can store that separately and fill more cones later.
tips to make Reese’s Pieces Cheesecake Cones
- Ensure the cream cheese is softened for easy mixing.
- Use a spatula to gently fold the whipped cream to keep it airy.
- For a richer flavor, consider using dark chocolate cones instead of regular chocolate cones.
- Adjust the amount of Reese’s Pieces based on your love for peanut butter candy.
variation
You can easily customize this recipe by using different types of candies or fruits. For example, you could swap Reese’s Pieces for crushed Oreos or mixed berries for a fruity twist.
FAQs
1. Can I use a different type of cone?
Yes! You can use regular waffle cones, sugar cones, or even graham cracker cones for a different taste.
2. Can I make this recipe ahead of time?
Absolutely! You can make the cheesecake filling and fill the cones a day in advance. Just be sure to chill them in the fridge until serving.
3. What can I do if I don’t have whipped cream?
If you don’t have whipped cream, you can use whipped topping or make your own whipped cream by beating heavy cream until it forms soft peaks.
Reese's Pieces Cheesecake Cones
Ingredients
Method
- In a mixing bowl, beat the softened cream cheese until smooth.
- Gradually add powdered sugar and mix until well combined.
- Gently fold in the whipped cream.
- Stir in the chopped Reese's Pieces.
- Spoon the cheesecake mixture into the chocolate cones.
- Top with additional Reese's Pieces if desired.
- Chill in the refrigerator for at least 30 minutes before serving.