
why make this recipe
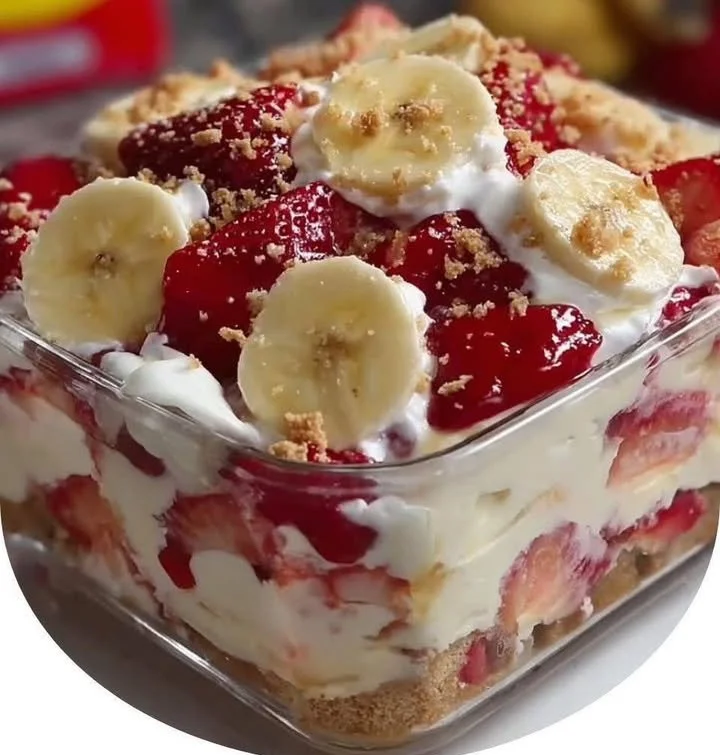
Strawberry Banana Pudding Dream is a delightful treat that combines the sweet and refreshing flavors of strawberries and bananas. This no-bake dessert is perfect for warm days, family gatherings, or whenever you’re in the mood for something sweet. It’s easy to make and requires minimal ingredients, making it a great choice for both experienced bakers and beginners. Plus, it looks beautiful when served, adding a touch of elegance to any occasion.
how to make Strawberry Banana Pudding Dream
Ingredients:
- 2 cups crushed vanilla wafers
- 6 tablespoons unsalted butter, melted
- 1 tablespoon granulated sugar (optional)
- 2 cups ripe bananas, sliced
- 2 cups strawberries, sliced
- 4 cups vanilla pudding or whipped cream
Directions:
- In a bowl, mix crushed vanilla wafers, melted butter, and granulated sugar until well combined.
- In a serving dish or individual cups, layer half of the wafer mixture, followed by layers of sliced bananas and strawberries.
- Add a layer of vanilla pudding or whipped cream.
- Repeat layers with remaining ingredients.
- Chill in the refrigerator for at least 2 hours before serving. Enjoy your no-bake dessert!
how to serve Strawberry Banana Pudding Dream
You can serve Strawberry Banana Pudding Dream in a large bowl or in individual cups for a nice presentation. Garnish with a few extra slices of strawberries or bananas on top for added color. This dessert is perfect for warm days and can be a refreshing end to a meal.
how to store Strawberry Banana Pudding Dream
To store leftovers, cover the dessert with plastic wrap or keep it in an airtight container. It can be stored in the refrigerator for up to 3 days. However, for the best flavor and texture, it is recommended to enjoy it within the first couple of days after making.
tips to make Strawberry Banana Pudding Dream
- Use ripe but firm bananas to prevent them from becoming too mushy in the dessert.
- Feel free to adjust the amount of sugar based on the sweetness of your fruits.
- If you want a lighter version, you can use low-fat vanilla pudding or yogurt instead of heavy whipped cream.
- To make it more colorful, you can add some blueberries or raspberries between the layers.
variation
For a chocolate twist, you can use chocolate pudding instead of vanilla pudding. You can also mix in some chopped nuts for added crunch or even drizzle melted chocolate on top before serving.
FAQs
Can I make this dessert ahead of time?
Yes, you can prepare Strawberry Banana Pudding Dream a day in advance. Just make sure to cover it well to keep it fresh.
What can I use instead of vanilla wafers?
If you don’t have vanilla wafers, you can use graham crackers or any other cookies you prefer.
Can I use frozen fruits?
While fresh fruits are recommended for the best texture and taste, you can use frozen fruits. Just make sure to thaw and drain them before layering.
Strawberry Banana Pudding Dream
Ingredients
Method
- In a bowl, mix crushed vanilla wafers, melted butter, and granulated sugar until well combined.
- In a serving dish or individual cups, layer half of the wafer mixture, followed by layers of sliced bananas and strawberries.
- Add a layer of vanilla pudding or whipped cream.
- Repeat layers with remaining ingredients.
- Chill in the refrigerator for at least 2 hours before serving.