Ingredients
Method
Preparation
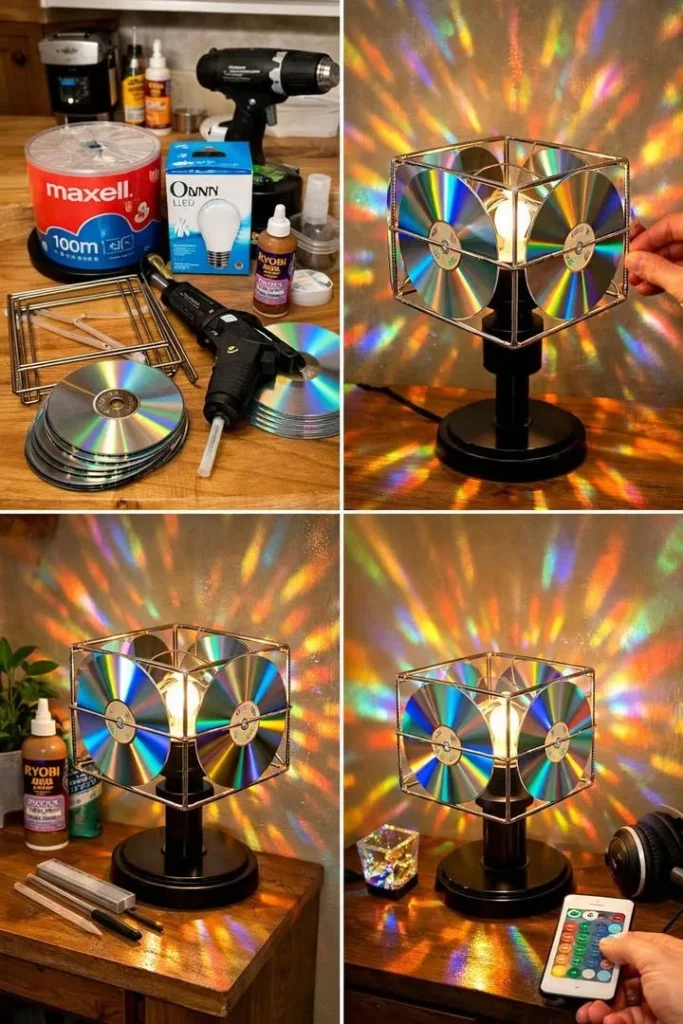
- Clear a flat surface for your crafting. Lay down newspaper for easy cleanup.
- Gather all your ingredients and tools. If you’re using an old lamp, remove the shade.
Assembly
- Using scissors, carefully cut the CDs into small pieces or shapes, such as triangles or squares.
- Use super glue or a hot glue gun to attach the CD pieces to the lamp base, starting from the bottom and overlapping them slightly.
- Place the light bulb in the lamp base, ensuring it is fixed in place.
Finalization
- Once the glue is dry, plug in the lamp and switch it on to enjoy the colorful beams.
- Find a nice spot in your home to display your rainbow lamp.
Notes
For best results, place it in a dimly lit room to enhance the colors reflected on the walls. When storing, keep it in a cool, dry place and unplug it.